Putting In Hair Extensions
What’s easy to use, versatile, and instantly beautiful? If you guessed hair extensions, you’re right! They’re perfect for everyday photo shoots, weddings, and a range of other special events. There are also other reasons to wear hair extensions. Hair extensions add instant length, volume, and lighter or darker colors without damaging your hair with bleach or harsh dyes. Complicated updos and other hairstyles are also possible with extensions, making them perfect for special occasions. In this article, we’ll discuss how to put in hair extensions, including how to put in clip-in extensions, how to attach hair extensions, and other hair extension placement.
How to Put In Clip-In Extensions

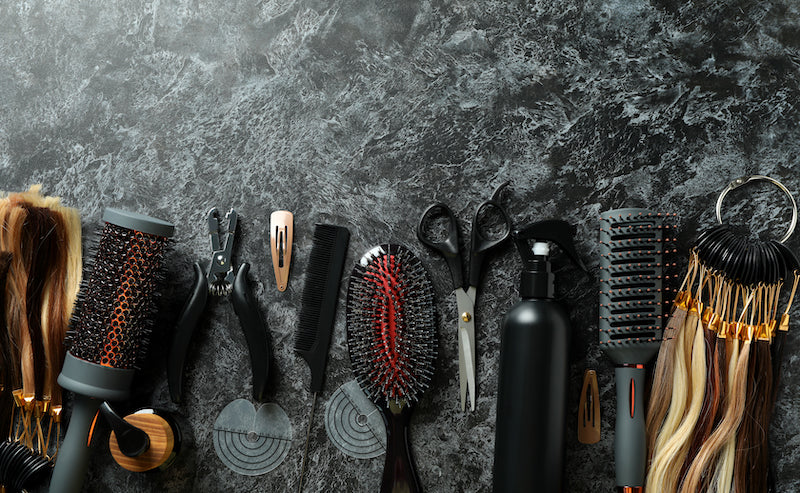
Hair extensions are fantastic to have amongst your hair tools. They come in a range of materials, and you can apply them in numerous ways, allowing you to pick the unique extensions that work best for you. The main extension types are keratin glue or fusion, weave or sew-in, tape-in, and micro link or micro bead. When you’re looking at how to attach hair extensions, each extension type has a distinct process. Some methods for attaching hair extensions to your hair are semi-permanent, while others are temporary. Clip-in extensions are wefts of synthetic or human hair on a fabric or silicone base.
Clip-in extensions can attach to hair using comb-like, small clips. This extension type is temporary, the application usually takes around 30 minutes or less, and the lasting time is usually three months to one year, depending on the hair type and how you treat your extensions. As the least permanent type of extension, clip-ins allow for more versatility. When putting in clip-ins, you ideally want a rat-tail hair comb and large hair clips in addition to the extensions. For how to attach your hair extensions, there are five essential steps.
Step 1
Separate your hair into two sections using your rat-tail hair comb or another similar instrument. You don’t want the clips to show, so be sure to leave out enough hair on the top of your head to conceal the tops of the extensions. A claw hair clip can also help secure the top section of hair.
Step 2
In this step, you’ll want to use your comb to effectively separate the remaining hair into the same amount of wefts you have. If there is only one weft, the hair does not need any sectioning off. For example, if you have ten wefts, you will want to separate your hair into only ten sections.
Step 3
Next, pick out the weft of hair that achieves the length of hair you want for that section and place the weft clip newly at the root of your own hair. After clipping it down, give a gentle tug to the weft to ensure that it’s attached securely to your head.
Step 4
Now you’ll want to continue to repeat the process until you apply all of your extensions.
Step 5
In the last step, you’ll blend your natural hair with the extensions. If you have heat-friendly synthetic or human hair extensions, take sections of your extensions and your natural hair together, and straighten or curl the sections. With synthetic extensions that aren’t heat resistant, or that you don’t want to use heat on, tousle or twist the hair together to give it a more natural look.
Other Hair Extension Placement
To put in keratin or fusion extensions yourself, you need a special heat tool to melt the keratin glue and properly fuse the extensions. For weave or sew-in extensions, you need to be highly skilled with thread and a needle or otherwise willing to learn. For tape-in extensions, you need to slowly tape in the hair extensions one by one. Micro link or micro bead extensions, as with the other extension types, can be tricky to put in yourself, require significant accuracy, and hair extension placement can take longer than with a professional.
Methods for a Natural Look

Some methods can also help your extensions look as natural as possible. Some of the top techniques for a more natural look include styling your natural hair and extensions together, trimming your extensions, selecting the best color for your extensions, and picking extensions that are the most similar to your natural hair.
Style Extensions and Hair Together
As mentioned, styling your natural hair and extensions using a straightening or curling iron can give you a more natural, seamless-looking appearance.
Trim Your Extensions
One of the best methods for a natural look is to take your extensions to a professional such as the professionals at Snapped Hair in Merrillville, IN. Here, a professional can layer and trim your own hair and your extensions to create a more unified look that blends fantastically.
Select the Right Hair Extension Color
For the most natural appearance possible, it also helps to choose a hair extension color that is close to your hair color. Usually, hair extensions that are about two shades darker or lighter than your own hair will give it a natural appearance. You may also dye your hair to match your hair extensions. If you have quality human hair extensions, a professional can highlight or dye them to blend them into your hair. Dying your extensions can shorten their lifespan unless you have natural extensions. Be sure that you go to a professional for any hair dying.
Select Extensions Similar to Your Hair
You also want to select hair extensions that are close to your natural hair. For example, if you have thick hair, pick thicker extensions. If you have thinner hair, pick extensions that are thinner as well. The right extension color can give you the most natural appearance possible.
Putting in Hair Extensions
There are various methods for putting in hair extensions based on your hair type and the extension type you choose. For more help with your high-quality extensions and other extension questions, visit Snapped Hair’s website or see the professionals at Snapped Hair in Merrillville, IN.